How to Build a PC from Scratch: A Step-by-Step Guide for Beginners
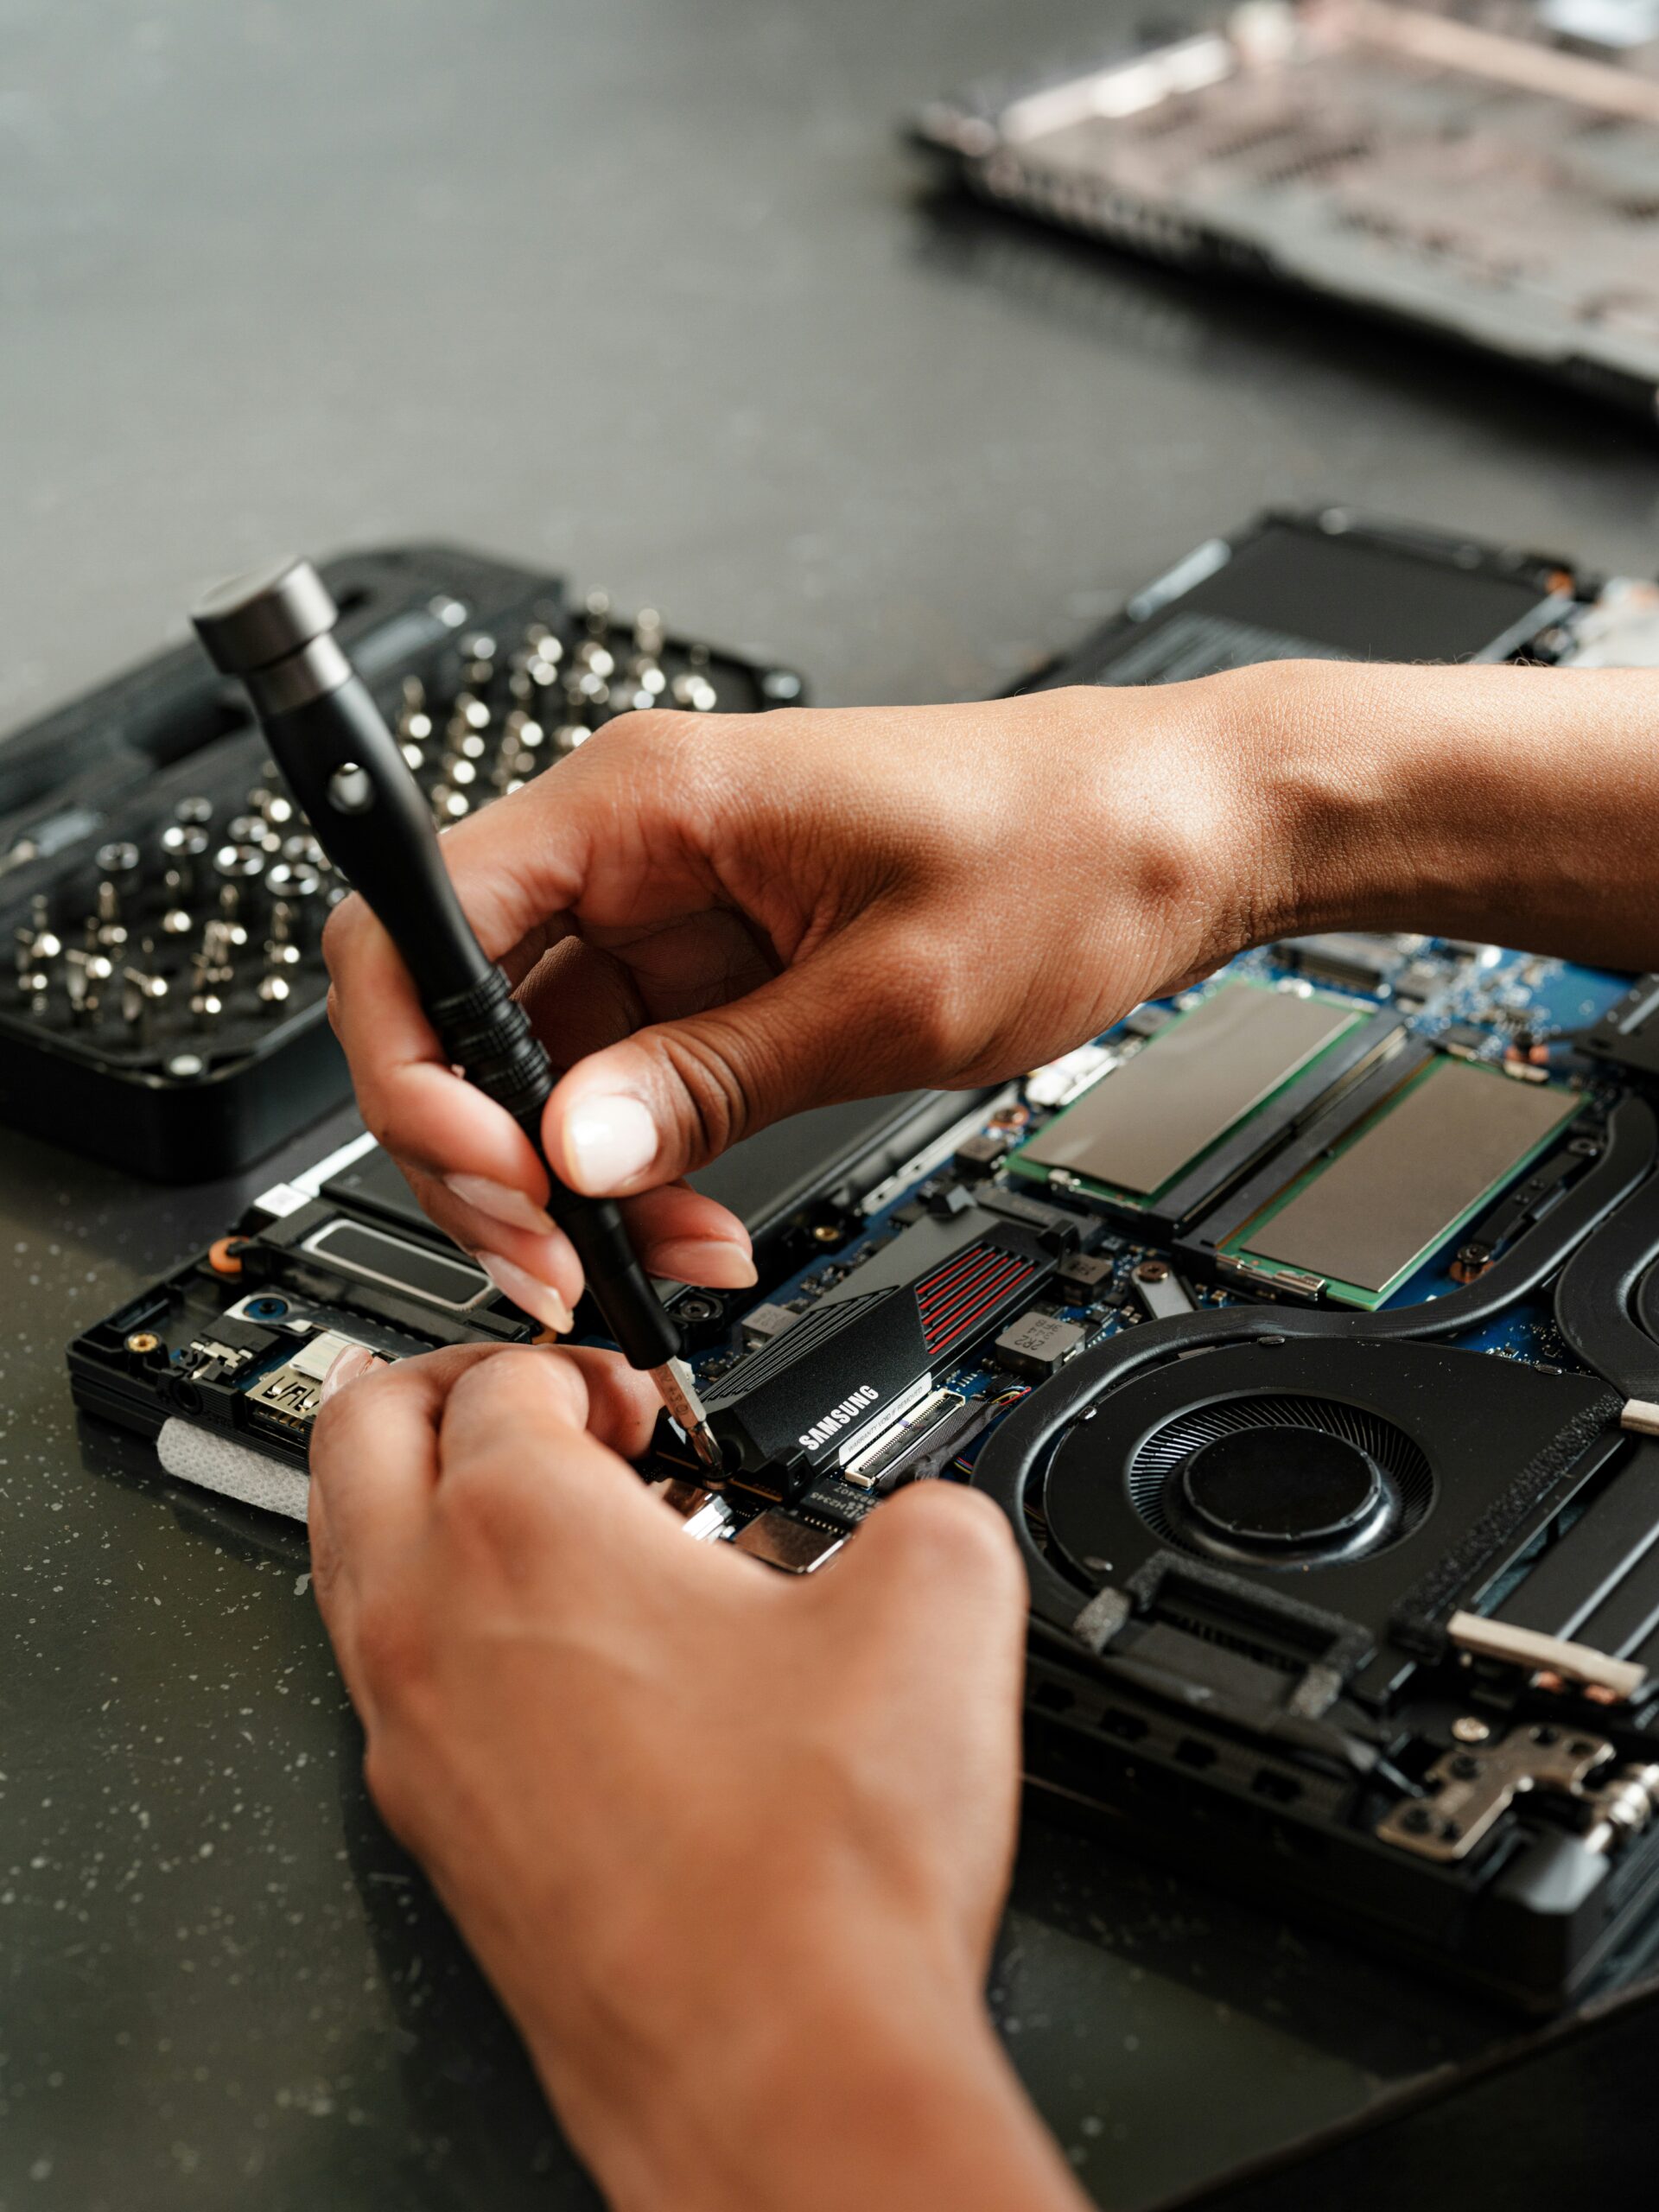
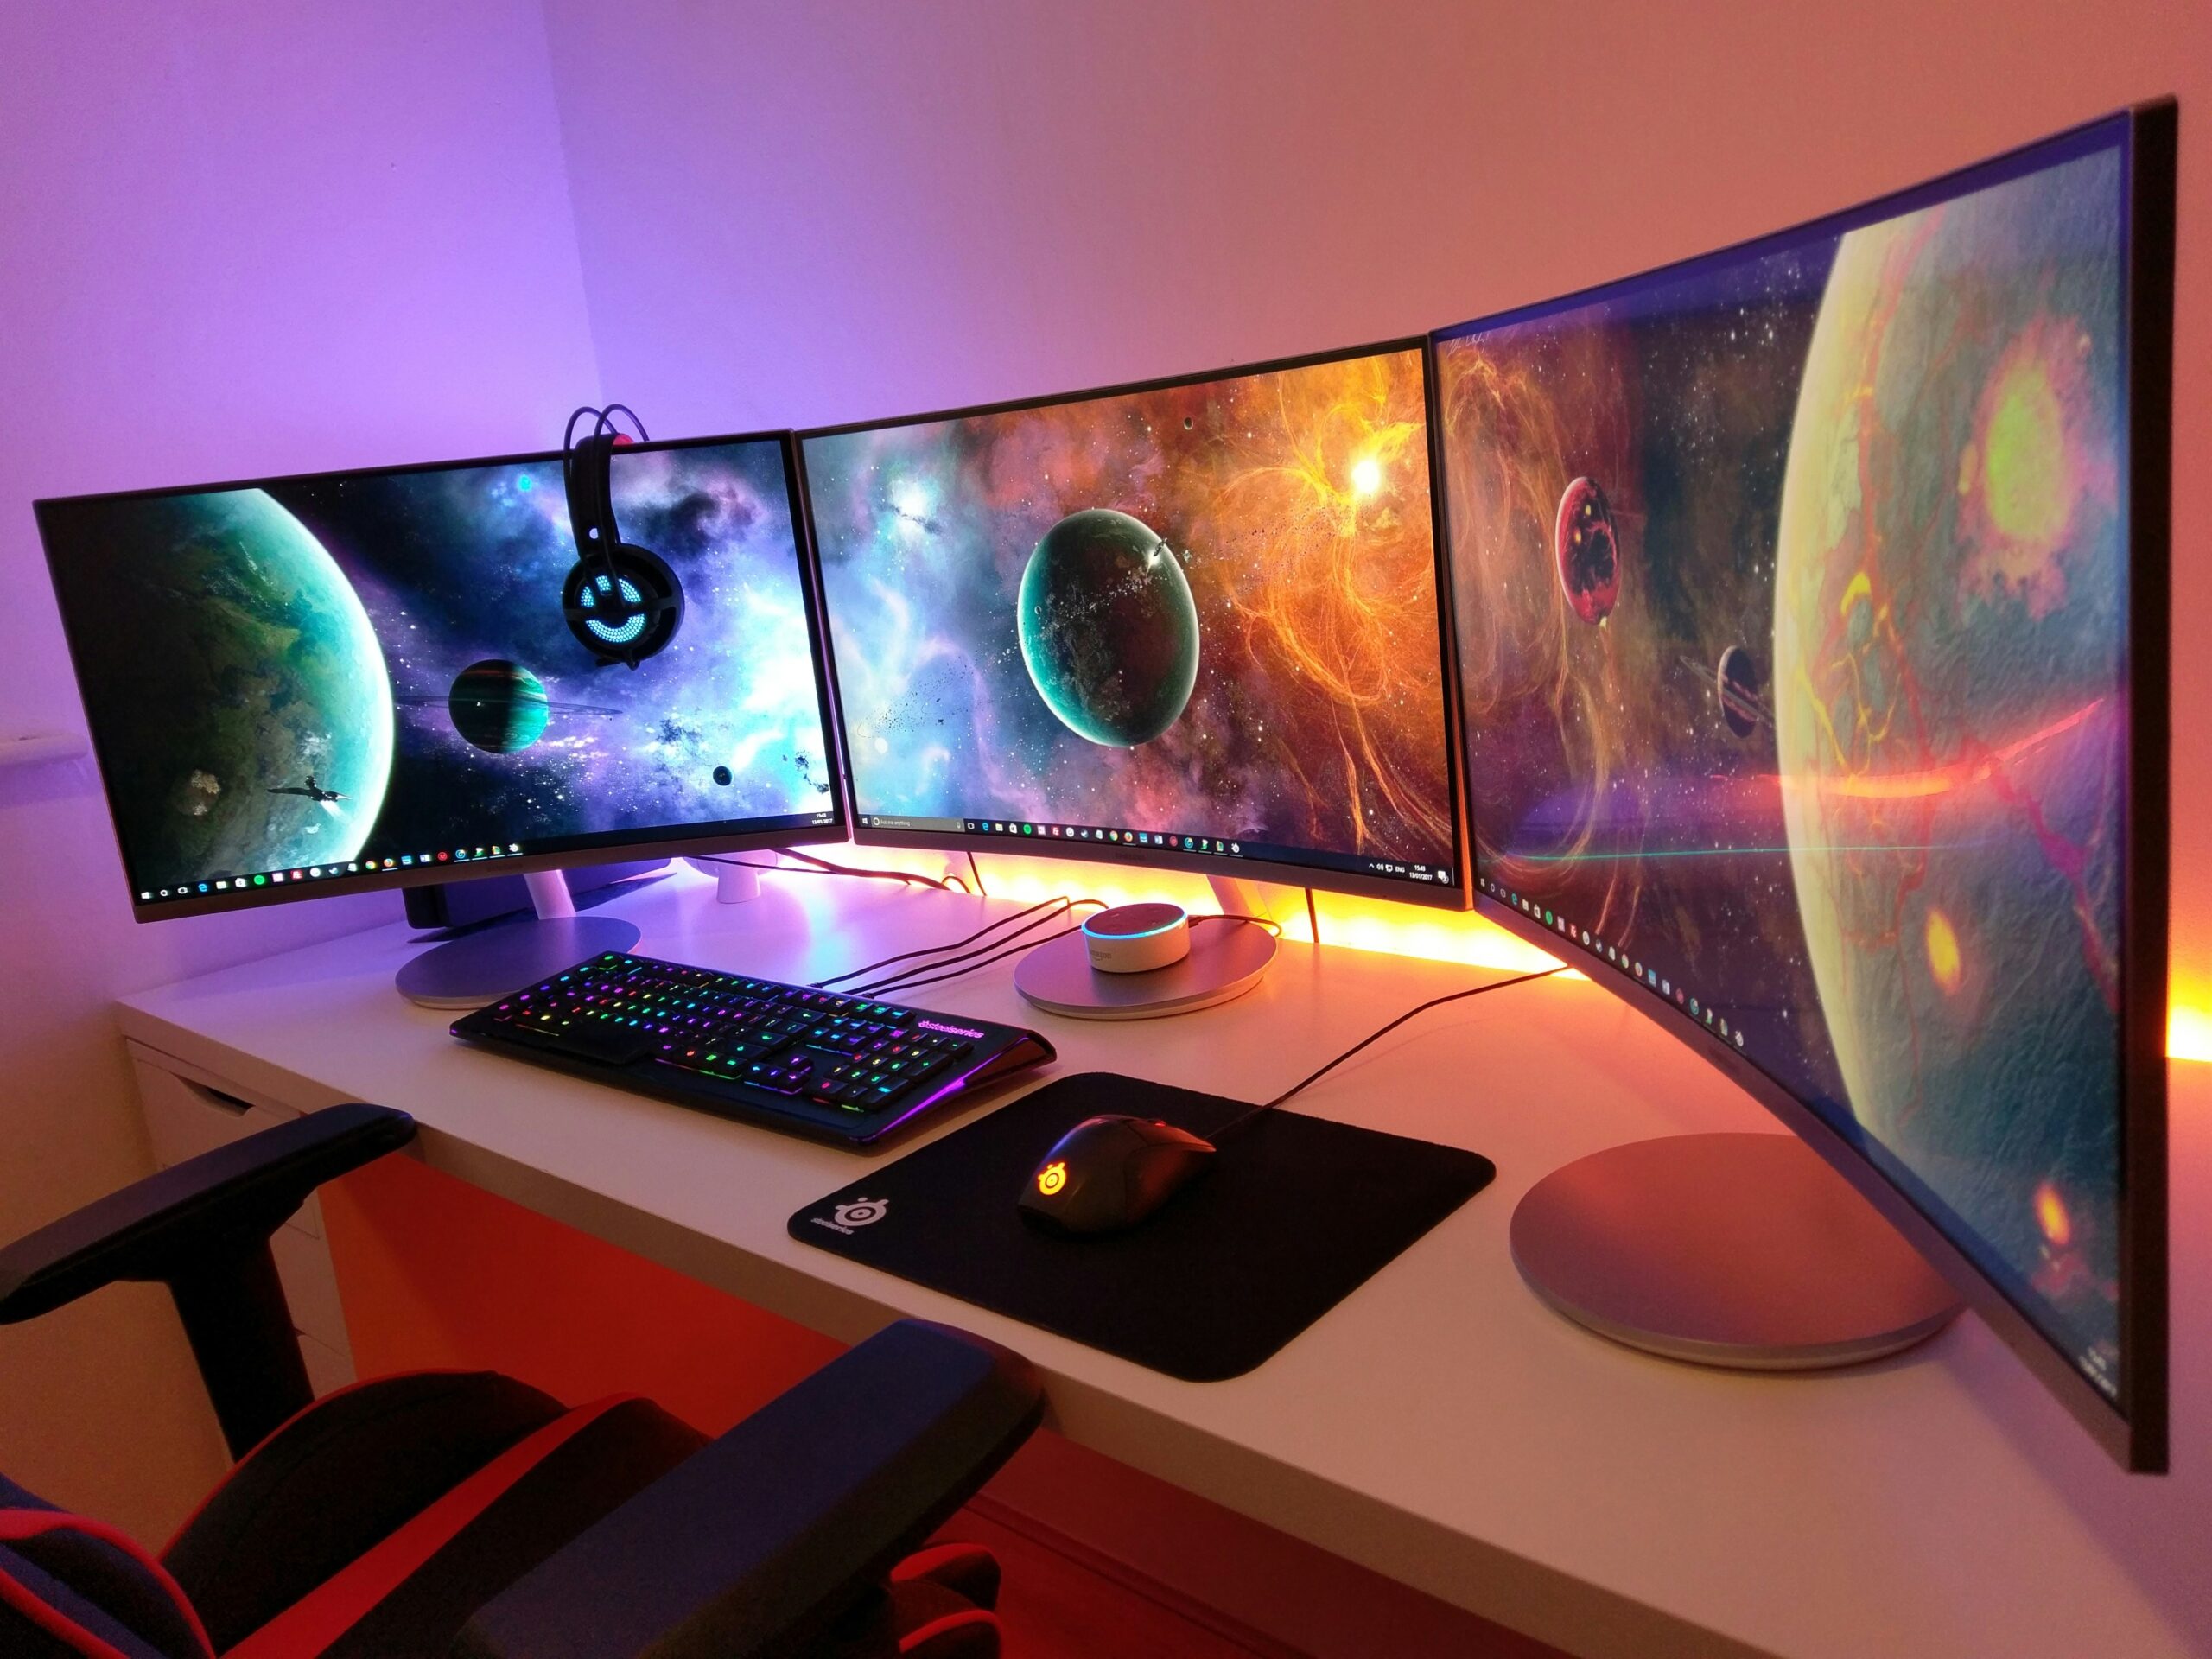
Building a PC from scratch can seem daunting, but with the right guidance, it’s a rewarding and educational experience. Whether you’re looking to create a powerful gaming rig, a high-performance workstation, or just a reliable everyday computer, this step-by-step guide will walk you through the entire process. Let’s get started!
1. Plan Your Build
Define Your Purpose:
Before purchasing any components, determine what you want your PC to do. Are you gaming, video editing, or just browsing the web? Your intended use will guide your choices for components.
Set a Budget:
Decide on a budget that balances performance with cost. Remember to include all necessary components such as the CPU, GPU, motherboard, RAM, storage, power supply, and case.
2. Gather Your Components
Central Processing Unit (CPU):
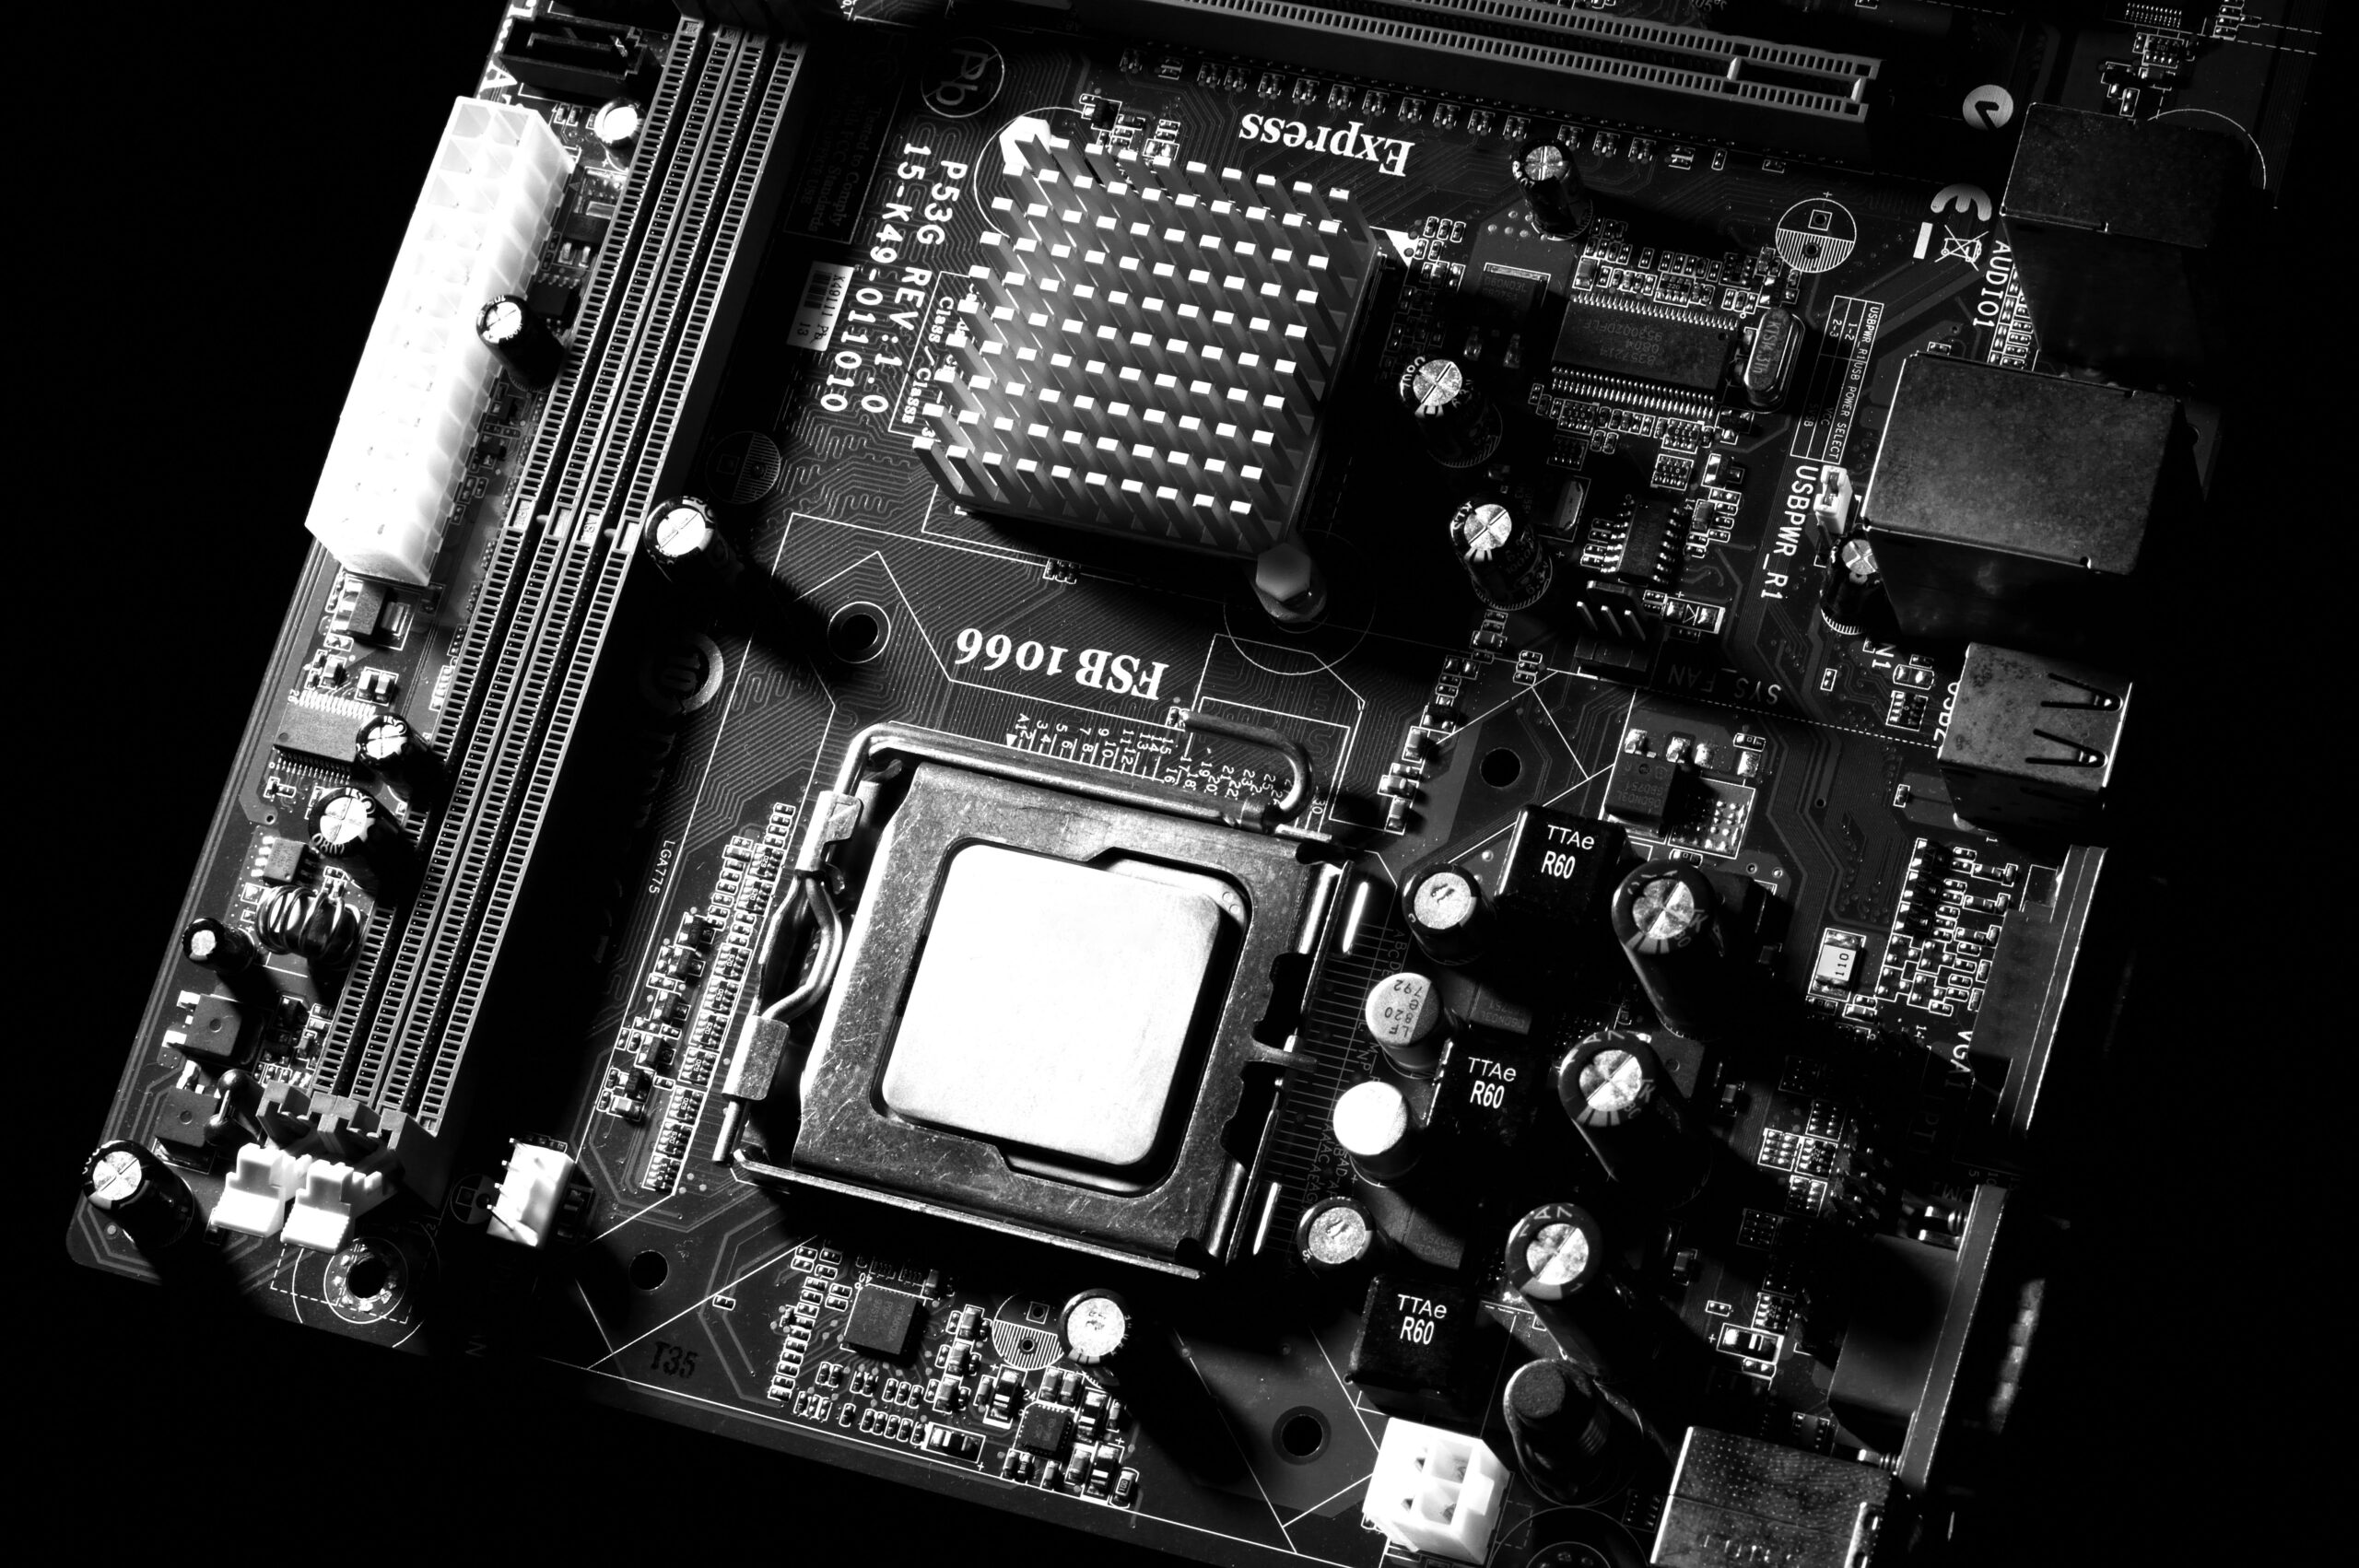
Choose a CPU that fits your needs and is compatible with your motherboard. Popular choices include AMD Ryzen and Intel Core processors.
Motherboard:
Select a motherboard that matches your CPU’s socket type and offers the features you need, such as enough RAM slots, PCIe slots, and connectivity options.
Graphics Processing Unit (GPU):
For gaming and intensive applications, a dedicated GPU is essential. NVIDIA and AMD offer a range of options to suit different performance needs and budgets.
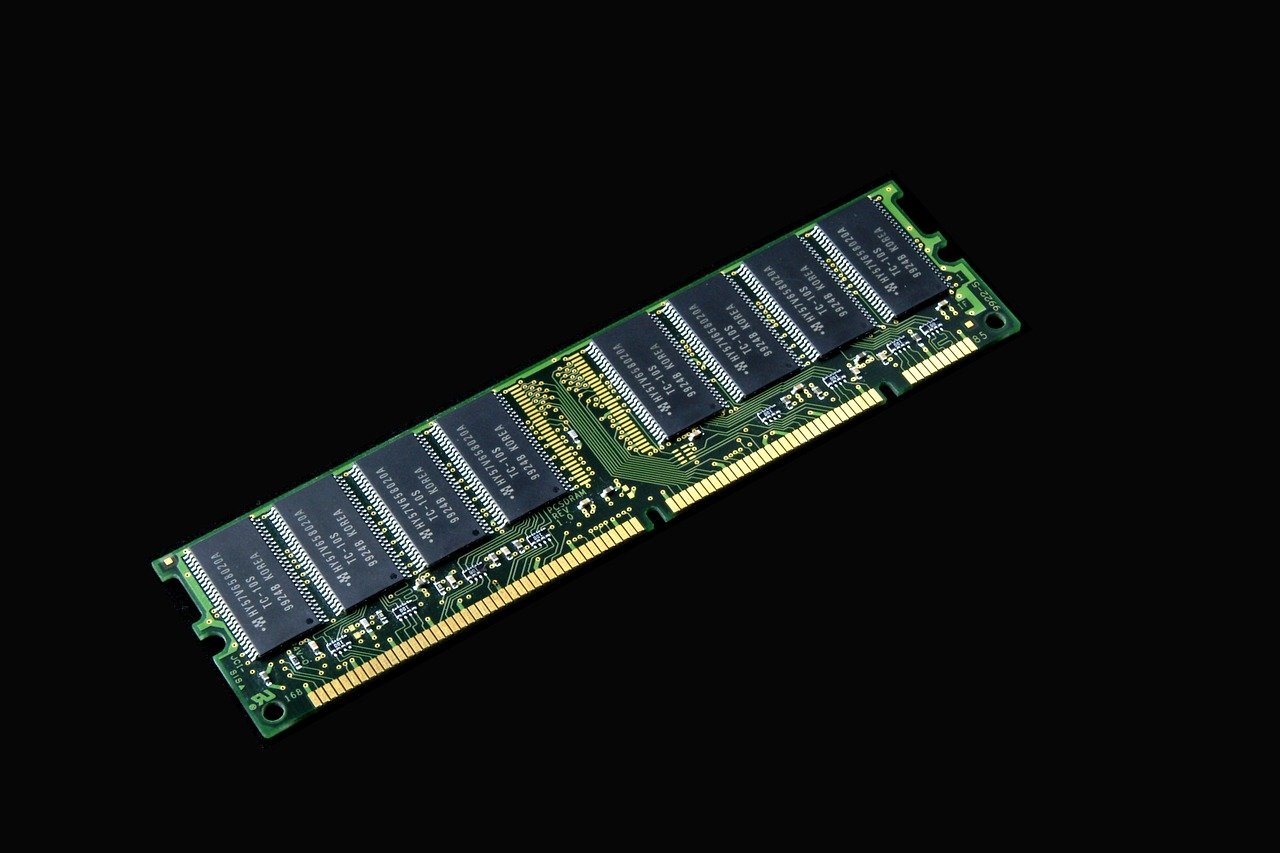
Random Access Memory (RAM):
Aim for at least 16GB of RAM for most tasks. Ensure the RAM is compatible with your motherboard in terms of speed and type (DDR4 or DDR5).
Storage:
Choose between a Solid State Drive (SSD) for fast performance and a Hard Disk Drive (HDD) for larger storage capacity. Many builds use an SSD for the operating system and an HDD for additional storage.
Power Supply Unit (PSU):
Select a PSU with enough wattage to support all your components, plus some extra headroom. Look for high efficiency ratings (80 Plus Bronze or better).
Case:
Pick a case that fits your motherboard size (ATX, Micro-ATX, or Mini-ITX) and has enough space for your components. Ensure it has good airflow to keep your system cool.
Cooling System:
Depending on your CPU and GPU, you may need additional cooling. Stock coolers often suffice, but aftermarket options can provide better performance and quieter operation.
3. Assemble Your PC
Prepare Your Workspace:
Set up a clean, static-free workspace with all your tools and components ready.
Install the CPU:
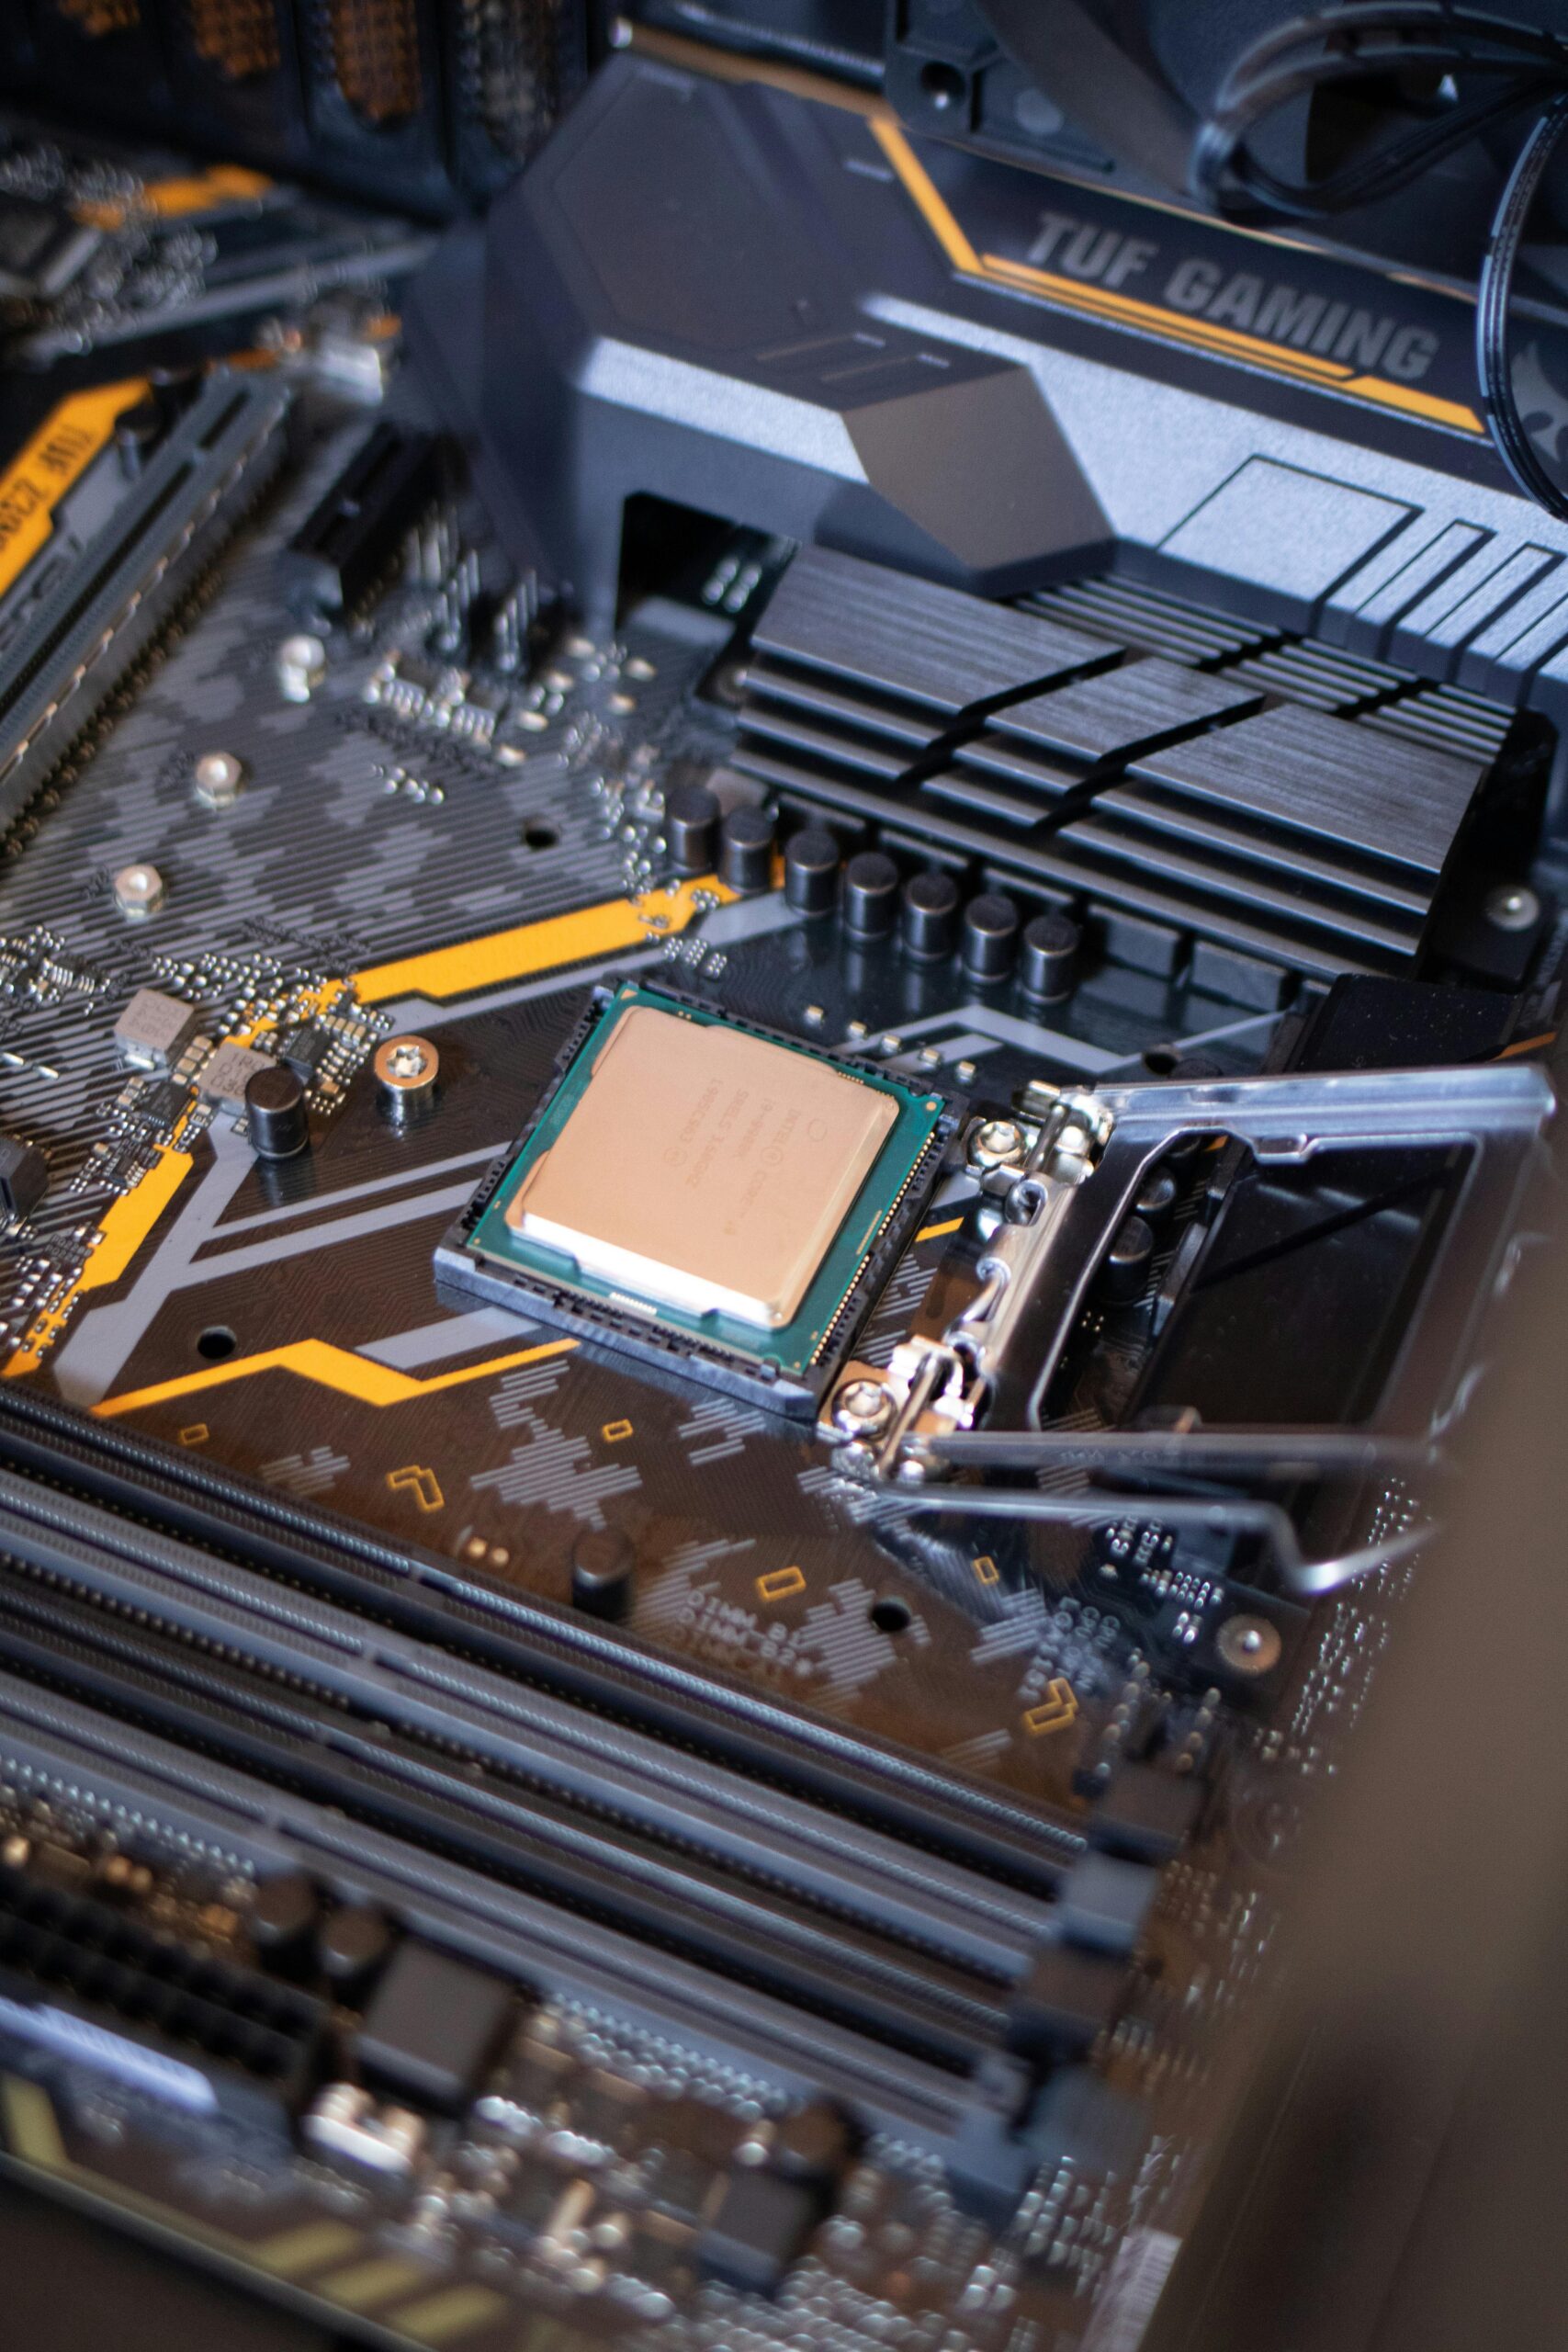
Carefully insert the CPU into the motherboard’s socket, following the instructions provided. Apply thermal paste if needed and attach the CPU cooler.
Install RAM:
Insert the RAM sticks into the appropriate slots on the motherboard, ensuring they are securely locked in place.
Install Storage Drives:
Mount your SSD and HDD into their respective bays or slots. Connect them to the motherboard using SATA cables.
Install the Motherboard:
Place the motherboard into the case and secure it with screws. Make sure to connect all necessary power cables and cables for the front panel (USB, audio, power switch).
Install the GPU:
Insert the GPU into the PCIe slot on the motherboard and secure it with screws. Connect any required power cables from the PSU to the GPU.
Connect All Cables:
Attach all power cables from the PSU to the motherboard, GPU, and storage drives. Connect any additional case fans or cooling systems.
Power On and Test:
Double-check all connections and power on the PC. Ensure that all fans are spinning and that you get a display on your monitor. Enter the BIOS to check that all components are recognized.
4. Install the Operating System
Prepare Installation Media:
Create a bootable USB drive with your chosen operating system (e.g., Windows 11 or Linux).
Install the OS:
Boot from the USB drive and follow the on-screen instructions to install the operating system on your SSD.
Update Drivers and Software:
Once the OS is installed, update all drivers for your hardware and install any necessary software
5. Final Touches
Cable Management:
Organize and secure cables to improve airflow and aesthetics.
Run Diagnostics:
Use software tools to test system stability and performance. Monitor temperatures to ensure your cooling system is working effectively.
Customize Your System:
Install any additional components or peripherals, customize settings, and enjoy your newly built PC!

